Set up Codex
Codex is optional. Drawing, chemistry checks, imports, and exports work without it. Install Codex only if you want ReShiki’s assistant to turn instructions or reference images into editable drawings, or help improve a layout.
Why ReShiki uses Codex
Section titled “Why ReShiki uses Codex”Codex provides the assistant’s model connection and account sign-in. ReShiki supplies the chemical drawing tools, builds the proposed structures locally, and renders them for review. Installing Codex does not replace ReShiki’s chemistry engine, and you do not need to write code or open a programming project.
The integration launches the Codex CLI’s local app server automatically. This is a background process ReShiki talks to; you do not need to start a server yourself or leave a terminal open. See the official app-server documentation.
1. Install the Codex CLI
Section titled “1. Install the Codex CLI”If codex --version already works in your terminal, continue to sign-in. Otherwise, choose one installation method for your operating system. These commands follow the official Codex CLI installation guide, checked on 24 September 2026.
Open Terminal and run the standalone installer:
curl -fsSL https://chatgpt.com/codex/install.sh | shIf you already use Homebrew, you can instead run:
brew install --cask codexWindows
Section titled “Windows”Open PowerShell and run the native Windows installer:
powershell -ExecutionPolicy ByPass -c "irm https://chatgpt.com/codex/install.ps1 | iex"Install it in Windows itself. A Codex installation only inside WSL cannot be launched by the native ReShiki app. ReShiki needs the actual codex.exe executable, so the standalone installer is preferable to a command-script wrapper.
Open a terminal and run:
curl -fsSL https://chatgpt.com/codex/install.sh | shExisting Node.js installation
Section titled “Existing Node.js installation”On macOS or Linux, the official npm package is another option:
npm install -g @openai/codexAfter installation, open a new terminal and check:
codex --version2. Sign in
Section titled “2. Sign in”Run:
codex loginComplete the browser sign-in using an account with Codex access. Then check the saved login:
codex login statusUse the same operating-system account that runs ReShiki. Codex manages the saved credentials; ReShiki reuses that sign-in and does not ask you to paste a password or API key into the drawing window.
Codex supports account sign-in through ChatGPT and API-key authentication. Availability and usage limits depend on your account; API-key usage is billed to the associated API account. ReShiki does not include model usage with the app download. For account requirements or the optional API-key route, follow the official authentication guide.
3. Connect in ReShiki
Section titled “3. Connect in ReShiki”- Open or restart ReShiki after installing Codex.
- Click Assistant in the top toolbar. It attempts to connect automatically.
- If Connect Codex remains in the footer, click it after signing in.
- A connected footer shows a filled dot and Codex, and the model menu lists models available to your account. Clicking Codex refreshes the connection and model list.
- Type a drawing request or attach an image, then click Send. Review the preview and choose Apply when satisfied. Applying is undoable.
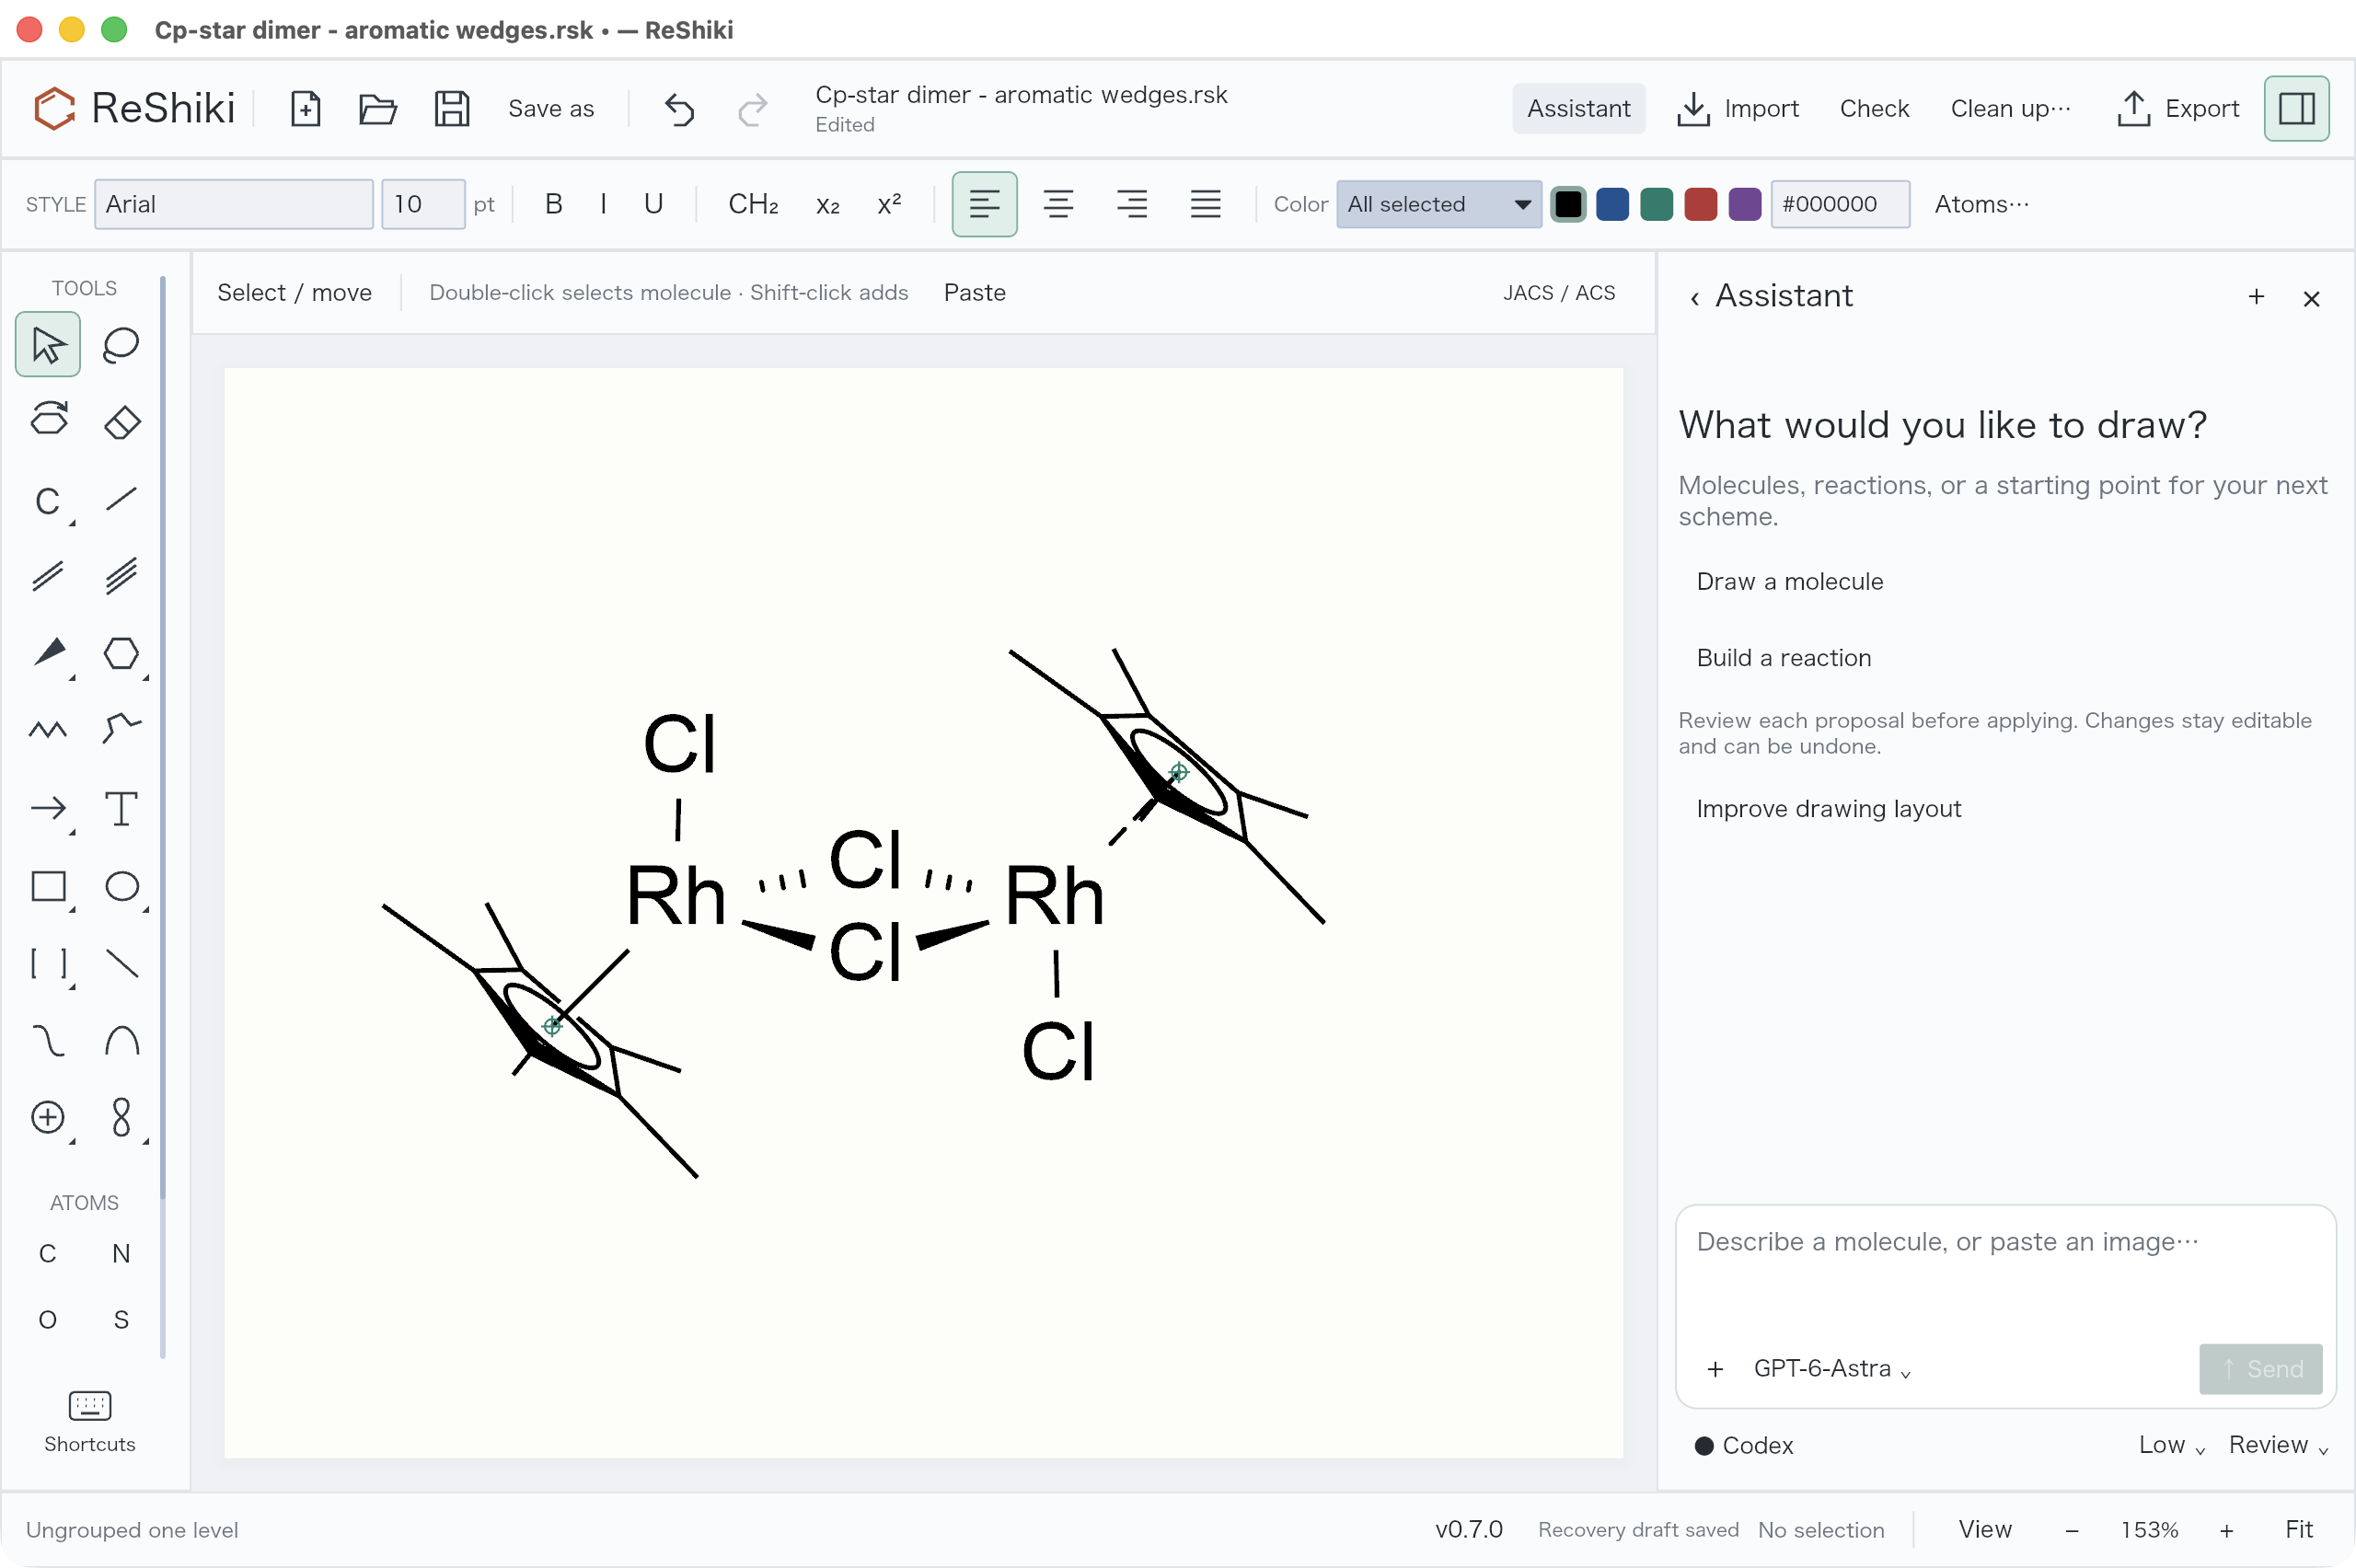
The screenshot shows a connected local preview build. GPT-6 Astra is selected when available; another account may offer different models. You can close the terminal after login. See drawing with the assistant for image input, review modes, and follow-up edits.
What happens when you send a request
Section titled “What happens when you send a request”- ReShiki sends your request, conversation context, relevant drawing data, and any attached source image through Codex to the model. This needs internet access.
- The model requests ReShiki’s drawing operations. The local engine creates editable atoms, bonds, labels, and other objects, and checks and renders the proposal.
- A separate model review receives the rendered drawing and source image to inspect the result and request bounded corrections.
- The draft remains available for inspection. Automatic application requires a completed review with no unresolved findings; uncertain chemical assignments still need your decision.
ReShiki starts this Codex session with a read-only sandbox and disables shell execution, web search, external apps, and additional agents. Its tools are limited to the drawing workflow. This does not make the assistant offline: prompts and images are still sent for model processing. Ordinary drawing and chemistry checks remain local. Review can make additional model requests, so a request’s usage includes more than its final reply. Conversation history and unapplied drafts are session-local; save applied drawings as .rsk files.
If it does not connect
Section titled “If it does not connect”| Symptom | What to check |
|---|---|
| Codex could not be found | Run codex --version, open a new terminal after installation, and restart ReShiki. On Windows, check Get-Command codex.exe; install the native executable rather than only a WSL copy. |
| Sign-in required | Run codex login status, sign in with codex login, then click Connect Codex again. |
| A model is missing | Click Codex to refresh the available models. Choose one offered by your account. |
| Connection or generation times out | Check connectivity and account access, reconnect, and retry. Completed previews are retained; inspect them before starting another request. |
For a custom installation, set RESHIKI_CODEX to the absolute path to the Codex executable in the environment that launches ReShiki. For example, on macOS or Linux:
RESHIKI_CODEX=/absolute/path/to/codex /absolute/path/to/reshikiOn macOS, the app executable is normally /Applications/ReShiki.app/Contents/MacOS/reshiki. An environment variable set in a terminal only applies to processes launched from that terminal; it does not change an already running app. To update Codex, rerun the standalone installer, or use the corresponding Homebrew/npm update command for your chosen installation method.